Fast deliveryAustralia wide
 Magic Tools
Sustainable materialsEco-friendly choice
Trade supportWe're here to help
Secure checkout100% secure checkout
Overview
Acoustic warmth for trade-ready walls and ceilings
Use the product gallery for finish and installation context, then scan the structured sections below for dimensions, fixing methods, acoustic build-ups, and downloads.
Designed for acoustic comfort
Adds a warm timber finish while helping reduce echo in homes, offices, studios, and commercial spaces.
Real wood veneer finish
Natural veneer gives each panel a richer grain and colour variation than a flat printed surface.
Seamless side-by-side installation
600 mm wide panels join in sequence so trade crews can set out full walls quickly and trim the last panel.
Walls and ceilings
Suitable for feature walls, ceiling treatments, reception areas, media rooms, and acoustic upgrades.
Specifications
Panel dimensions
Product size
Front-view panel diagram showing the full height and width.
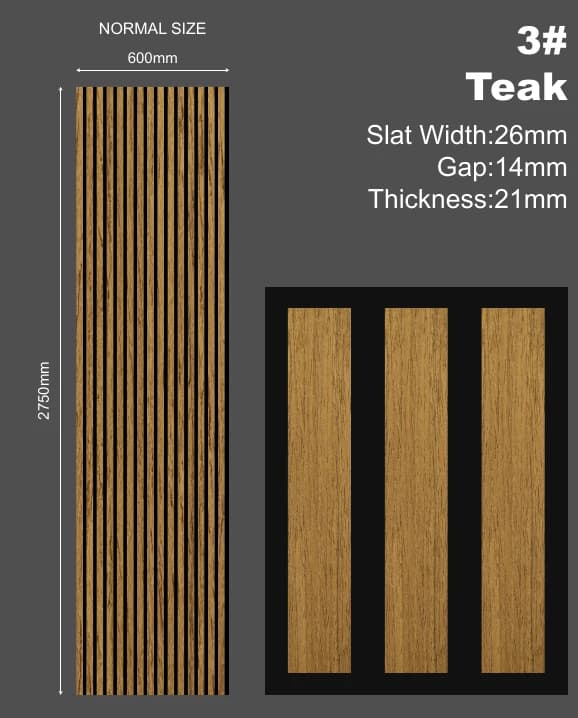
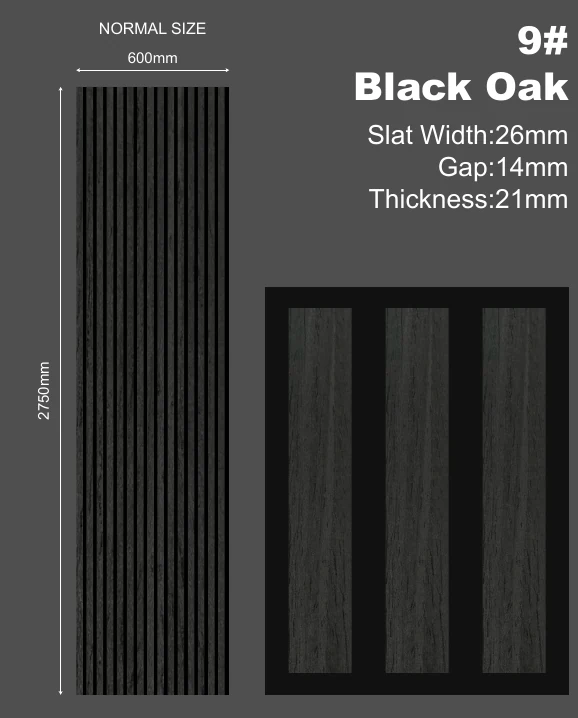
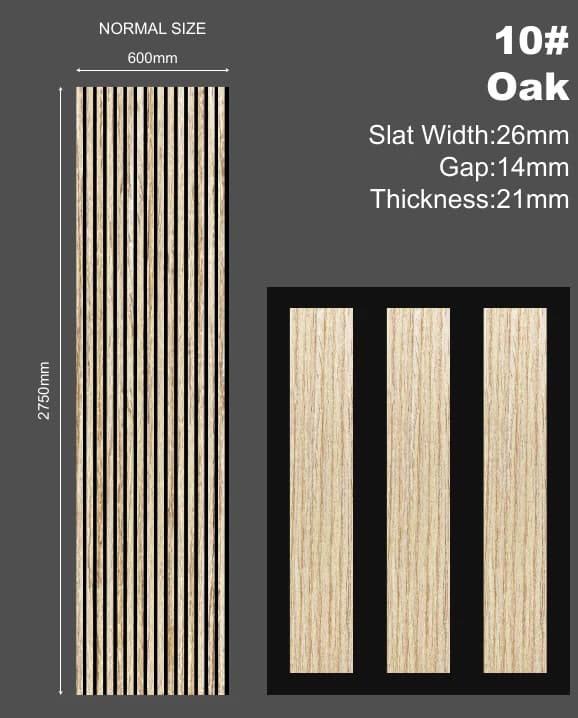
Final size2750(H) × 600(W) × 21(D) mm
Thickness / Depth
Side-section profile showing the full panel build-up.
21mm total12mm wood slat9mm recycled PET acoustic backing
Slat detail
Close-up detail only. This is not the full panel width.
26mm slat14mm gap
- Supplier
- BM Sydney
- Weight
- 16 kg/panel
- Backing
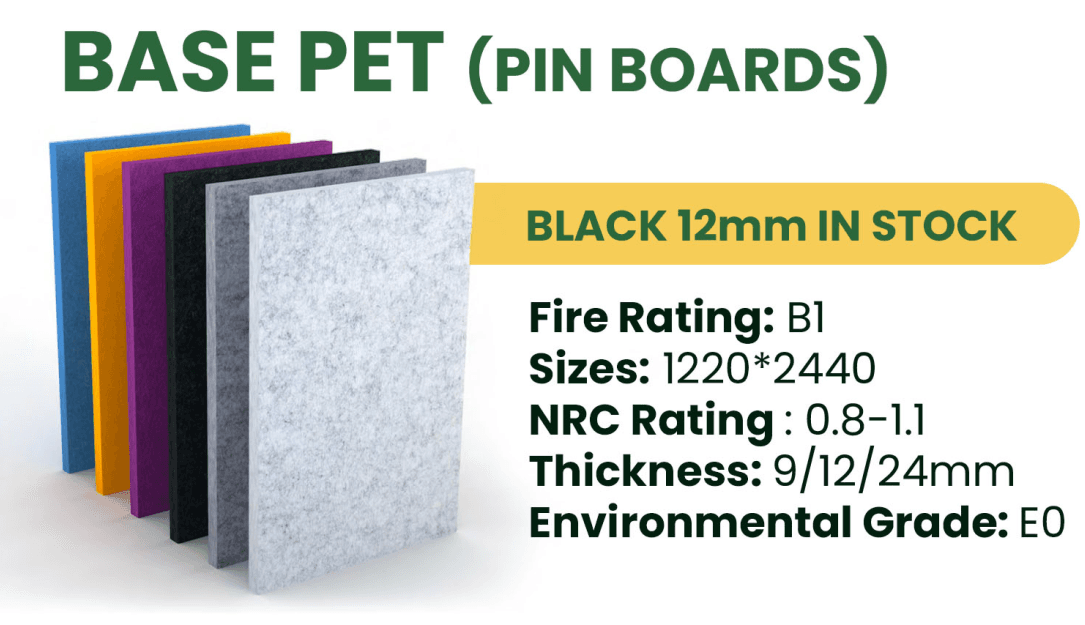
- 9 mm recycled PET acoustic fabric
- Slats
- 26mm × 12mm strips, 14mm spacing
- Finish
- Real wood veneer on recycled MDF
- Coverage
- 1 panel, approximately 1.65 sqm
Installation
How to install
Start from a corner with the MDF side closest to the corner. Keep every 600 mm wide panel level, join panels side-by-side, and trim the final panel when the remaining space is under 600 mm.
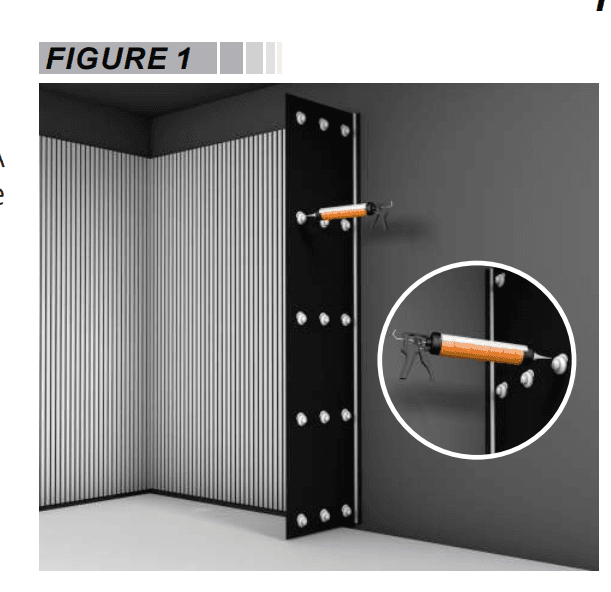 Step 1
Glue directly to wall
- Use construction glue or grab adhesive.
- Apply to a clean and prepared wall substrate.
- Keep each 600 mm wide panel level while the adhesive grabs.
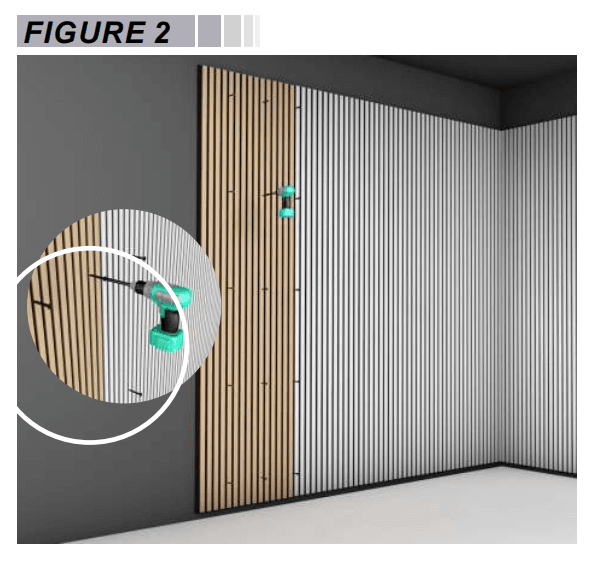 Step 2
Screw directly to wall
- Use black screws for black backing, or silver/grey screws for grey backing.
- Screw through the acoustic felt with a minimum of 9 screws per panel.
- Set screws about 80 mm across the width and 610 mm down the length.
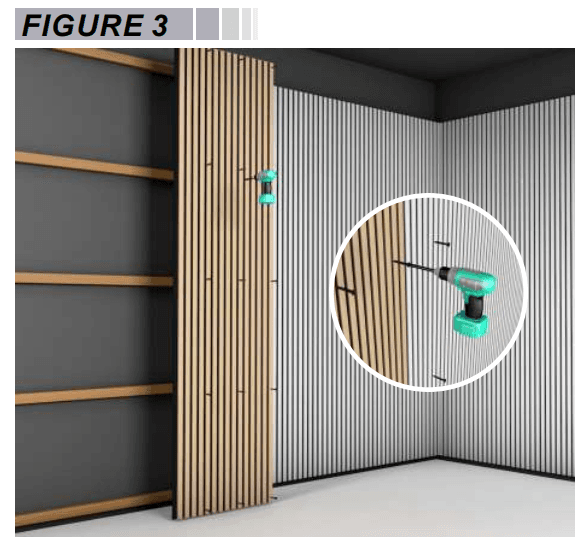 Step 3
Screw into 46 mm timber battens
- Fix 46 mm timber battens to the wall.
- Screw panels through the acoustic felt into the battens.
- Add mineral wool or Rockwool behind panels for stronger acoustic performance.
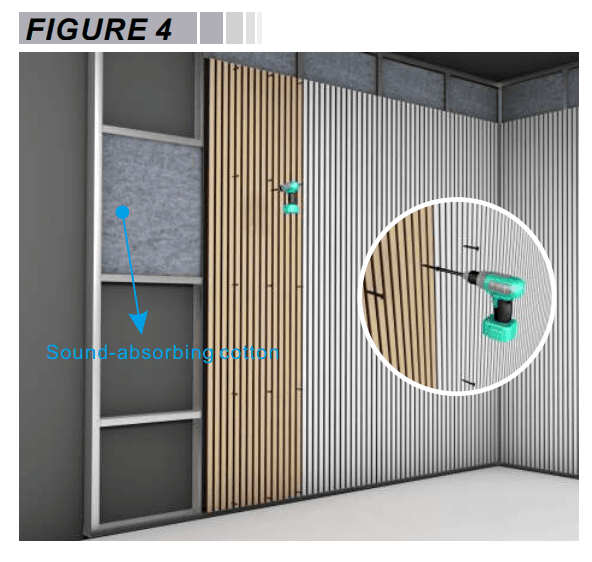 Step 4
Light steel keel installation
- Install light steel keel about 100 mm from the wall.
- Use 600 mm vertical keel spacing and adjust horizontal keel to site needs.
- Fill the cavity with sound insulation cotton before screw fixing.
Product ratings
Performance at a glance
Cutting & Drilling
Cut cleanly on site
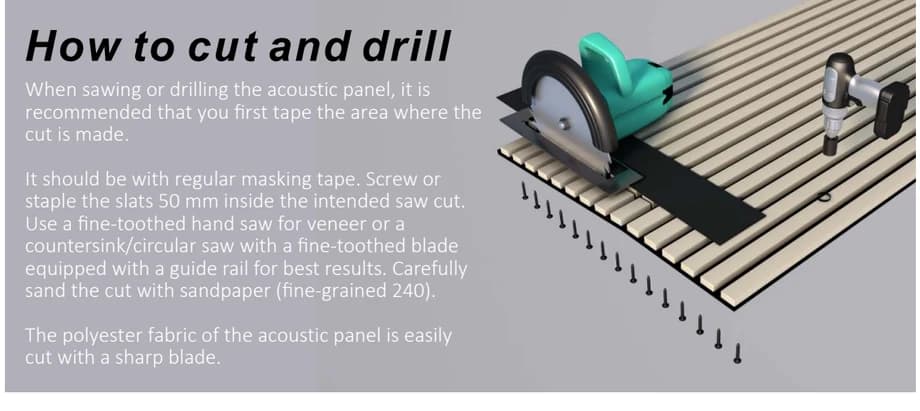
- Tape the cutting area first using masking tape.
- Screw or staple the slats 50 mm inside the intended saw cut.
- Use a fine-toothed hand saw for veneer, or a guided fine-toothed circular saw.
- Carefully sand the cut with fine-grain 240 sandpaper.
- Cut the polyester fabric backing with a sharp blade.
- Always follow tool manufacturer safety guidance and wear appropriate PPE.
Keep the finish calm and clean
Apply a protective finish such as wood oil where suitable. Light dusting or vacuuming helps prevent dust build-up. If panels are unfinished, wipe with a dry cloth.
Class B acoustic felt backing
The acoustic felt backing carries a Class B fire rating following ASTM E84-16 certification. This is informational content from the supplied document, not a guarantee beyond that document.
Downloads
Technical resources
PDF
DownloadInstallation Instructions PDF
BM Acoustic Timber Panel Installation_ENG v1.1_05.03.2026
Related productsRecommended from this catalogue
Acoustic Timber Panel 21mm - Walnut$76.00+ GST